Wednesday, December 18, 2013
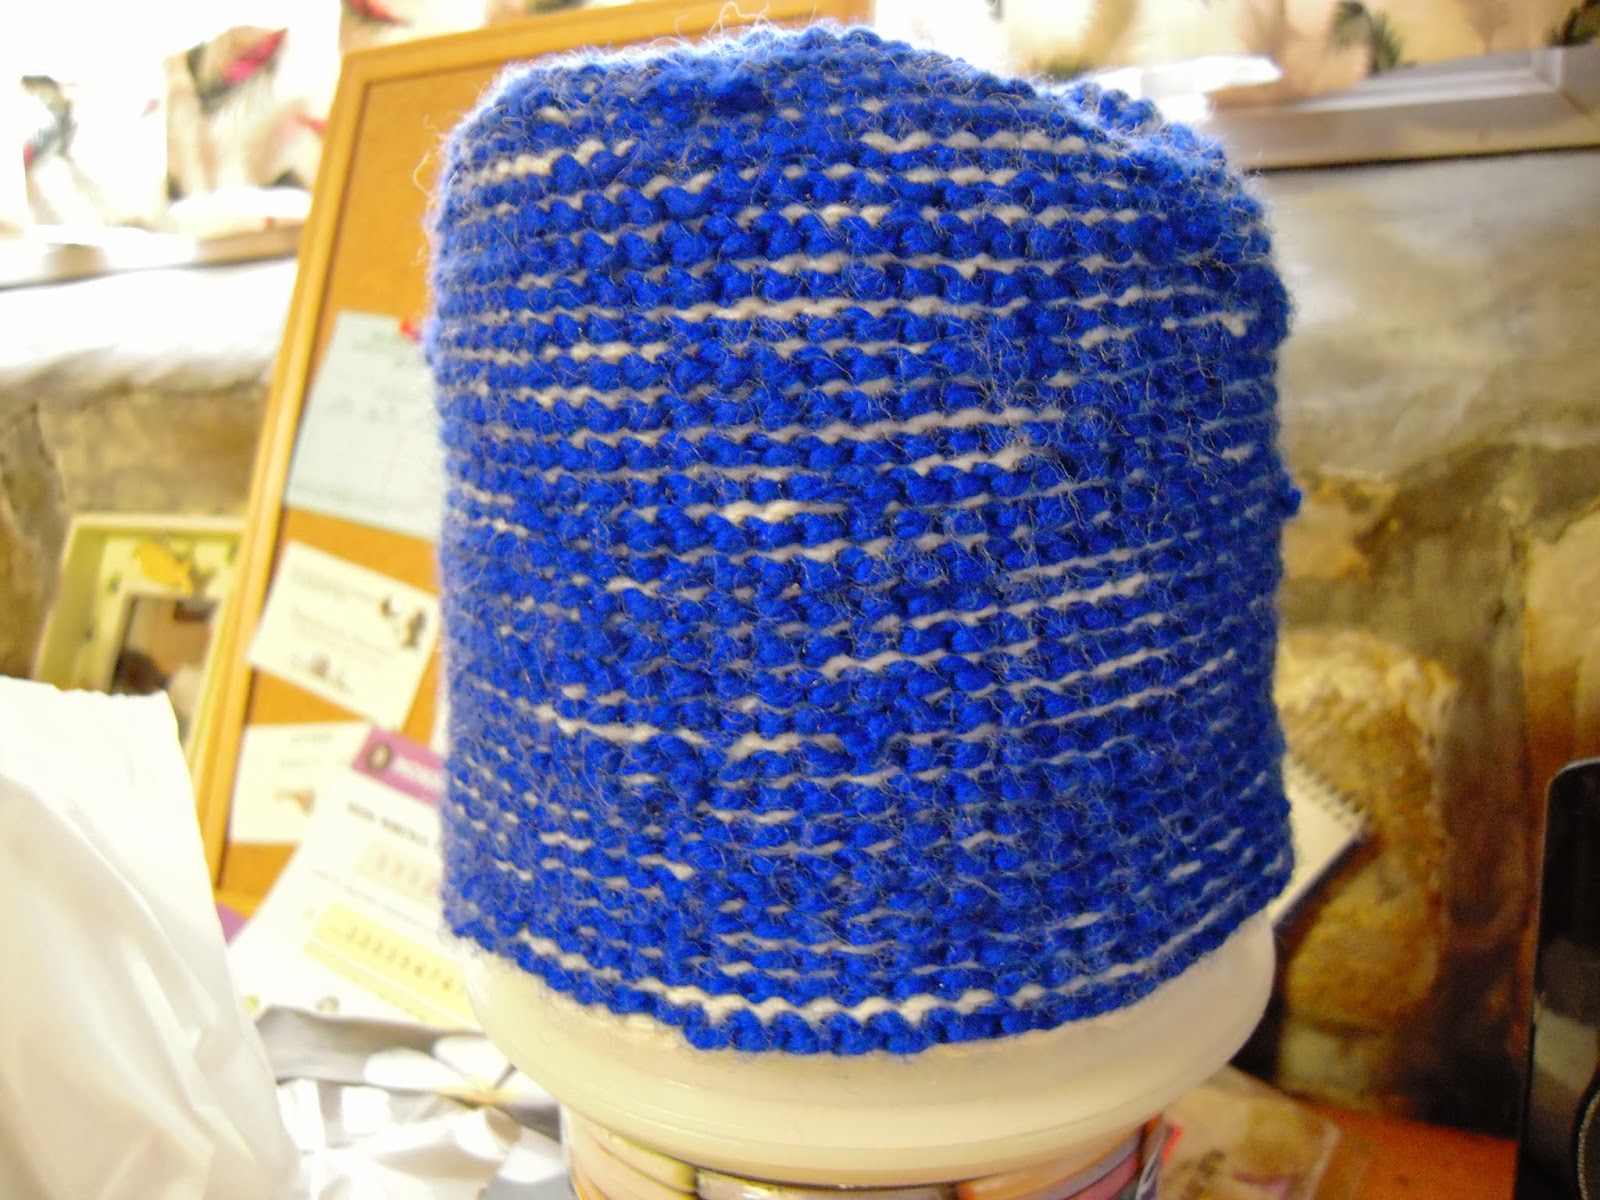
experiment with ridges
This barely makes an adequate yarmulke: I cut the sides too early and went in too fast. And the joining of rows is uneven. But still it is striking look.
+crochet geek
basket weave basket
Trying to use the basket stitch to make a basket. This is the good view; the others have counting errors or show how the base does not flow smoothly into the wall. This stitch, in this weight yarn and guage, not dense enough to make a very good basket (it is here stretched over a plastic container).
But the pattern is striking
+crochet geek
to whom be thanks
But the pattern is striking
+crochet geek
to whom be thanks
Wednesday, December 11, 2013
hat: tunisian in the round
Another hat almost from Crochet Geek (I lost the last few rows). This is scaled down for a newborn (well, will be in March) using the chart dimensions from CG. The preferred view is
It doesn't show errors as clearly as the other side, which was the side I actually worked on:
#crochetgeek
It doesn't show errors as clearly as the other side, which was the side I actually worked on:
#crochetgeek
Tuesday, December 3, 2013
Yet another CG scarf.
This one was mostly chains but the connections made a nice pattern and a surprisingly warm and covering one in the infinity scarf (with Moebius twists again; I hope using the double chain will prevent this next time).
A better chain?
This is from some ancient craft magazine (Piecework in the early 2000s, even late 1990s?). The result is a band that does not roll and has even loops available for the next row, unlike regular base chains. It also gives a smoother, more finished edge.
Start with the usual slip knot, then chain one (the first A loop). Insert the hook into the slip knot loop again and draw up a second loop (first B) onto the hook. *Draw a loop through both loops on the hook, forming a new A. Then insert hook through old B and draw up a new B on the hook* Repeat between * to the desired length. For a flat piece, draw the A and then chain as needed for the first row. For a closed circle, slip stitch A to the edging and then top loop to top loop, the proceed as required.
Subscribe to:
Comments (Atom)


